Guides / Installation, Power & Maintenance
The LED display installation process, step by step
7 min read · Updated October 2026
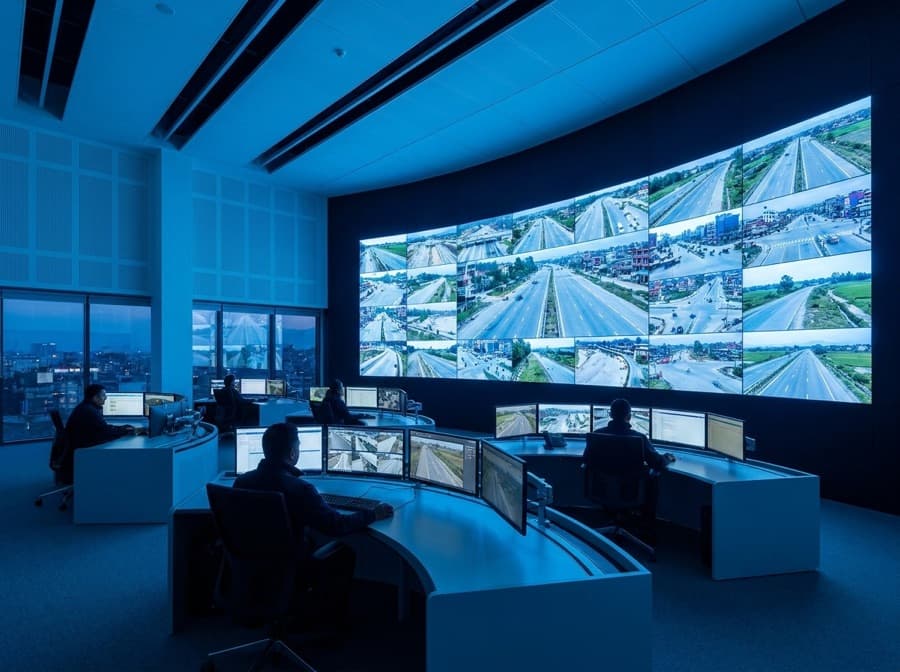
A professional LED display installation moves through a fixed sequence: brief and site survey, specification and design, structure and power preparation, mounting the cabinets, cabling and control, calibration and commissioning, then training and handover. On site, a standard screen of roughly 2×1.5 m to 4×2.5 m typically takes two to three days including its structure; larger spans or complex mounting take five to seven. Most of what decides whether the result looks and lasts right happens before anyone climbs a ladder.
Step 1: How does an LED installation start?
An LED installation starts with a brief and a site survey. The brief records what the screen is for, who will watch it from where, whether it is indoor, outdoor or behind glass, whether it will be filmed, and who will manage the content. The survey checks the physical reality: the wall or ground, the access, the power and the network.
We survey free of charge before any firm quote, because the site decides the structure, brightness and access that drive most of the specification. A survey looks at the load-bearing capacity of walls and roofs, the route for cables, the distance to the control position, the electrical supply and earthing, sun direction for outdoor screens, and how equipment and people will reach the installation point.
Skipping this step is the most common cause of trouble later — cabinets that do not fit the opening, a structure that needs redesign, or a power supply that cannot carry the load.
Step 2: What happens during design and specification?
During design the brief and survey turn into a specification and drawings: pixel pitch, screen size in whole cabinets, brightness, IP rating, mounting method, structure, power distribution and control system. This is where the screen is sized to the cabinet grid, not to an arbitrary dimension, so its edges land cleanly.
The pitch is set by viewing distance — pixel pitch in millimetres roughly equals the closest comfortable viewing distance in metres — and the resolution follows from pitch and size. Brightness follows from the environment. For structure, outdoor and large screens need engineered steel designed for wind load and access; indoor walls need a frame suited to the wall construction.
The design stage also fixes the service access. Front-service cabinets can be maintained from the face and suit flush wall mounts; rear-service cabinets need a walkway or space behind. Changing this after fabrication is expensive, so it is agreed on the drawings.
Step 3: How are the structure and power prepared?
The structure is fabricated and installed, and the electrical supply and data routes are prepared, before the LED cabinets arrive on site. This sequencing keeps the screen modules away from welding, dust and building work.
Outdoor structures need foundations or secure fixings to the building, corrosion protection, and drainage. Indoor frames need fixings appropriate to brick, concrete or steel, checked for load. Electrical preparation includes a dedicated supply sized for the screen’s peak draw, distribution boards with suitable protection, surge protection, and proper earthing. Our guide to power for LED displays in Nepal covers voltage stability, UPS and generators in detail.
Data cabling — Ethernet or fibre from the control position to the screen — is run at this stage too. Long runs and runs through electrically noisy areas are planned so the signal arrives cleanly.
Step 4: How are the LED cabinets installed?
LED cabinets are mounted onto the structure row by row, locked together, aligned and levelled so the surface is flat and the seams are invisible. This is skilled work: small misalignments become visible lines, especially on fine-pitch screens.
The crew starts from a level reference line, mounts and locks each cabinet, checks flatness and gaps continuously, and connects power and data looms in the planned order. Modules are fitted or checked last, keeping them protected. For outdoor screens, sealing at the perimeter, flashing and cable glands are completed at the same time so water cannot track into the structure.
All our installation is done by our own in-house team rather than subcontracted. That matters because the people who mount the screen are the people who will maintain it, and they know exactly how it was built.
Step 5: What does calibration and commissioning involve?
Commissioning means configuring the control system, mapping every receiving card, calibrating the screen to look uniform, and testing it under real operating conditions. It is what turns a set of tiles into one display.
The sending and receiving cards are configured so the processor knows the screen’s layout, and the content is mapped to the native resolution. Brightness and colour are adjusted so cabinets and modules match across the surface; uniform-batch modules make this easier. Then the screen is tested at full white and full black, with moving content, at day and night brightness, and through a power interruption to confirm it restarts cleanly.
Content management is set up at the same time: scheduled playback, automatic on/off times and brightness schedules or ambient light sensors. A school entrance display we installed in Kathmandu Valley, for example, switches itself on at 6am and off at 9pm, so nobody has to remember.
Step 6: What should you receive at handover?
At handover you should receive a working screen, trained users, documentation, spares where specified, and clear warranty and support arrangements. A screen is not finished until the people who use it can operate it.
Training covers changing content, scheduling, adjusting brightness, and what to do if the screen does not start. Documentation should include the layout and configuration files, the structure and electrical drawings, and the module batch information. Our LED displays carry a two-year manufacturer warranty honoured locally, with spares held in Kathmandu, so a failed module is a visit rather than an import.
Ask the installer how support works after handover: who to call, how quickly they respond, and whether preventive maintenance is offered. If you are planning a screen, the first step is the same for every project — ask us for a site survey.
The short version
- Every professional installation follows the same sequence: survey, design, structure and power, mounting, commissioning, handover.
- A site survey before quoting prevents most later problems with fit, structure and power.
- Screens are sized to whole cabinets and pitch is set by the closest viewing distance.
- Standard screens take about two to three days on site; large or complex installations take five to seven.
- Calibration and commissioning are what make many cabinets look like one display.
- Handover should include training, drawings and configuration files, spares and a clear support route.
Common questions
How long does it take to install an LED display in Nepal?
On site, a standard screen of around 2×1.5 m to 4×2.5 m usually takes two to three days including the structure. Larger spans over about six metres or complex mounting typically take five to seven days. Design, fabrication and delivery happen before that and depend on the project.
Do I need a site survey before buying an LED screen?
Yes. The survey checks the wall or ground, access, power and cabling, and the site decides the structure and brightness that drive most of the specification. We survey free of charge before giving a firm quote.
Who should install an LED display?
An experienced team that understands structures, electrics, alignment and the control system. Our installations are done by our own in-house team, not subcontractors, so the same people who build the screen know how to maintain it.
What happens during LED screen commissioning?
The control system is configured and mapped, brightness and colour are calibrated across the surface, content scheduling is set up, and the screen is tested with real content, at different brightness levels and after a power interruption.
What documents should I get after an LED display installation?
You should receive the configuration and layout files, structural and electrical drawings, module batch information, warranty terms and support contacts. These make future maintenance and module replacement much faster.
Where to go next
More in Installation, Power & Maintenance
Want this applied to your site?
We survey the site free, then spec the pitch, brightness and structure around what it actually needs.
Book a site survey